
[Java] Springboot Admin을 사용하여 모니터링하기
- 참고사이트
SpringBoot Admin 이란?
Springboot admin 은 어플리케이션들을 모니터링하고 관리하기 위한 웹 어플리케이션이다.
각각의 어플리케이션은 client 로 간주되고 admin server 에 등록되어 모니터링이 가능해진다. 간단하게 하위노드의 대시보드 페이지라고 생각하면 편할거같다.
Springboot actuator endpoints 만 열어두면 알아서 설정이 되어 쉽고 간편하다.
구현을 위해선 어드민 서버 역할을 할 놈과 client 역할을 할 놈이 필요한데,
간단하게 각 역할을 할 스프링부트 프로젝트 2개를 생성해서 ~~~~Application.java 파일을 실행시켜줘도 전혀 문제 없으니
아래 순서대로 진행하면 된다.
Admin 서버 생성
코드는 여기 에서 확인 할 수 있다.
build.gradle 파일에 의존성을 추가한다.
1
2
3
4
5
6
7
8
dependencies {
	implementation 'org.springframework.boot:spring-boot-starter'
	implementation 'org.springframework.boot:spring-boot-starter-web'
	implementation 'org.springframework.boot:spring-boot-starter-security'
	implementation 'de.codecentric:spring-boot-admin-starter-server:2.6.2'

	testImplementation 'org.springframework.boot:spring-boot-starter-test'
}
@EnableAdminServer 어노테이션을 추가한다.
1
2
3
4
5
6
7
@SpringBootApplication
@EnableAdminServer
public class AdminApplication {
	public static void main(String[] args) {
		SpringApplication.run(AdminApplication.class, args);
	}
}
Security 설정
1
2
3
4
5
6
7
8
9
10
11
12
13
14
15
16
17
18
19
20
21
22
23
24
25
26
27
28
29
30
31
@Configuration
public class SecurityConfig extends WebSecurityConfigurerAdapter {

    private final String adminContextPath;

    public SecurityConfig(AdminServerProperties adminServerProperties) {
        this.adminContextPath = adminServerProperties.getContextPath();
    }

    @Override
    protected void configure(HttpSecurity http) throws Exception {
        SavedRequestAwareAuthenticationSuccessHandler successHandler = new SavedRequestAwareAuthenticationSuccessHandler();
        successHandler.setTargetUrlParameter("redirectTo");
        successHandler.setDefaultTargetUrl(adminContextPath + "/");

        http.authorizeRequests()
                .antMatchers(adminContextPath + "/assets/**").permitAll()
                .antMatchers(adminContextPath + "/login").permitAll()
                .anyRequest().authenticated()
                .and()
                .formLogin().loginPage(adminContextPath + "/login").successHandler(successHandler).and()
                .logout().logoutUrl(adminContextPath + "/logout").and()
                .httpBasic().and()
                .csrf()
                .csrfTokenRepository(CookieCsrfTokenRepository.withHttpOnlyFalse())
                .ignoringAntMatchers(
                        adminContextPath + "/instances",
                        adminContextPath + "/actuator/**"
                );
    }
}
config 내용을 추가한다.
1
2
3
4
5
6
7
8
9
10
spring:
  security:
    user:
      name: ymkmoon # 어드민 security 에서 사용 할 username
      password: 1234 # 어드민 security 에서 사용 할 pw

server:
  port: 7000
  servlet:
    context-path: /toy-admin
여기까지 진행했다면 어드민 서버를 사용 할 준비가 끝났다.
이제 동작 확인을 위해 연결 할 하위 어플리케이션(client)가 필요하다.
Client 서버 설정
코드는 여기 에서 확인 할 수 있다.
build.gradle 파일에 의존성을 추가한다.
1
2
3
dependencies {
    implementation 'de.codecentric:spring-boot-admin-starter-client:2.6.2'
}
config 내용을 추가한다.
1
2
3
4
5
6
7
8
9
10
11
12
13
14
15
16
17
18
19
20
21
spring:
  boot:
    admin:
      client:
        url: http://localhost:7000/toy-admin # 어드민 application 의 url
        username: ymkmoon # 어드민의 username
        password: 1234 # 어드민의 pw
        instance:
          metadata:
            user.name: ymkmoon
            user.password: 1234

management:
  endpoints:
    web:
      exposure:
        include: "*"
  endpoint:
    health:
      show-details: ALWAYS
Client 설정도 모두 끝이났다. 이제 서버를 올려서 확인해보자.
결과화면
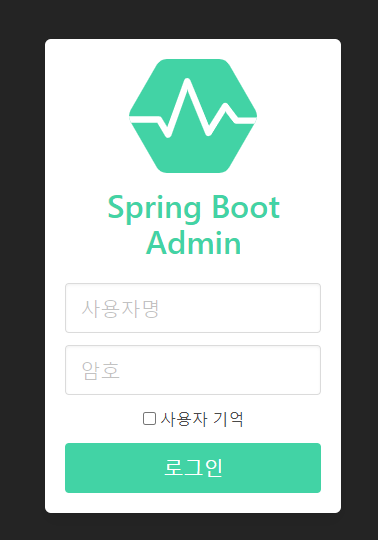
http://localhost:7000/toy-admin 에 접속을 하면 아래와 같이 로그인 화면이 표시된다.
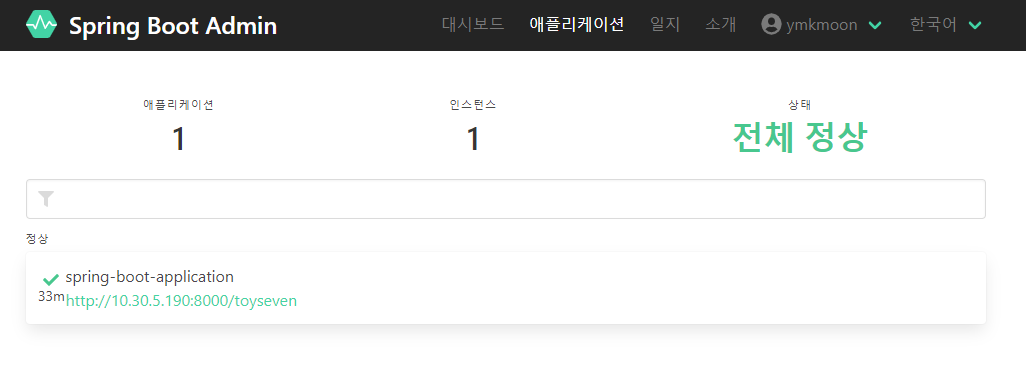
Application 탭
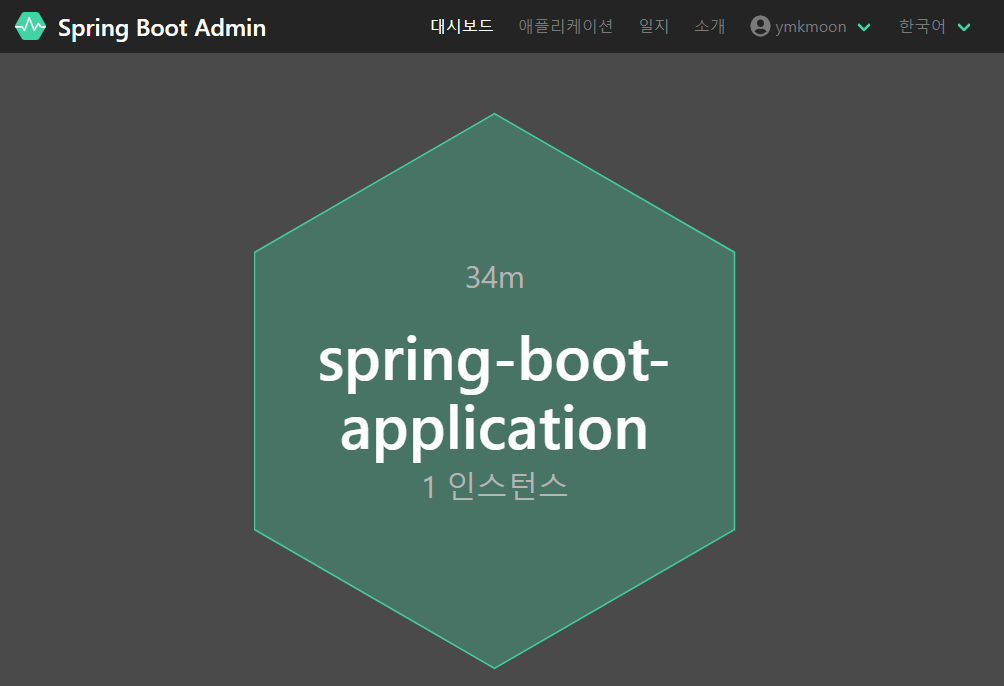
대시보드
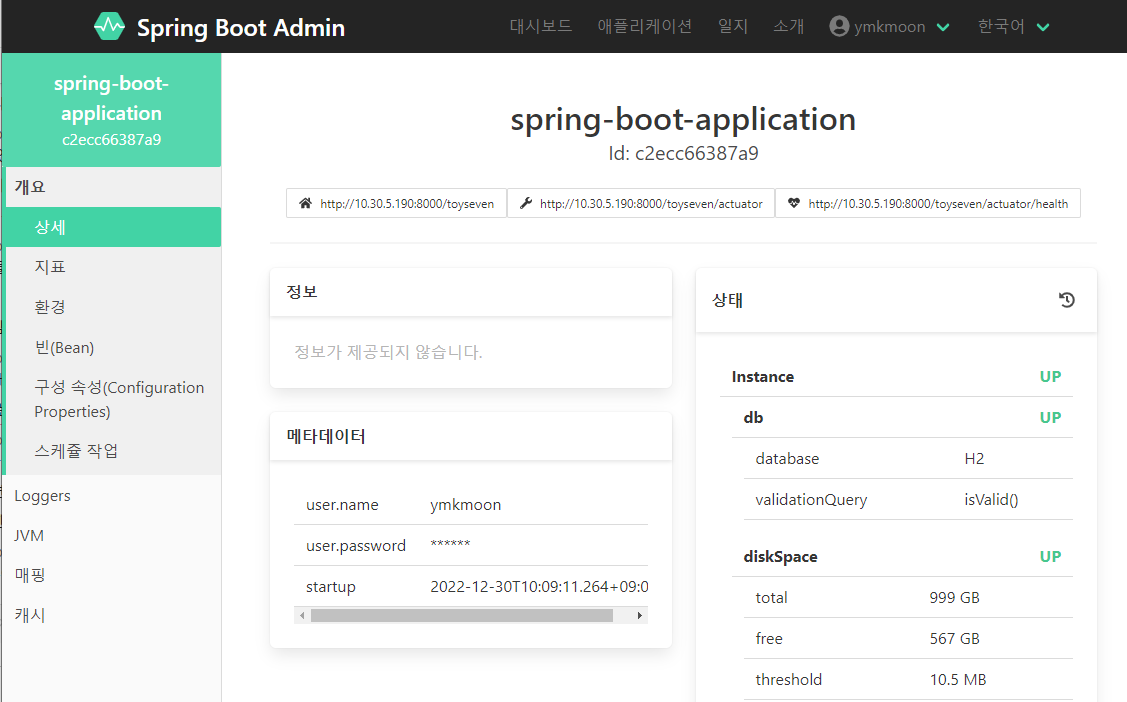
클라이언트 상세
댓글남기기